In ASP.NET Core, an Authorization Policy is simply some code that says “Are you allowed to do something” In this rather contrived example, we’re going to only allow access to a Controller’s Action if a weather service indicates it’s raining. Why not 🙂
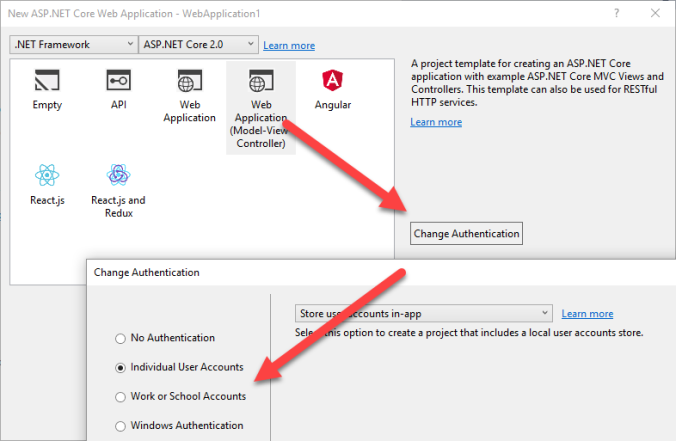
Step 1: Create a new solution that has some kind of authentication. Doesn’t matter what kind.
Step 2: Create a new AuthorizationPolicyBuilder extension class so we can add the Policy in our Startup.cs in step 3 next.
public static class WeatherAuthorizationPolicy
{
    public static string Name => "IsRaining";
    public static void Build(AuthorizationPolicyBuilder builder)
    {
        builder.RequireAssertion(context => IsRaining(context.User));
    }
    public static bool IsRaining(ClaimsPrincipal user)
    {
        //Todo access a weather service here.
        //return GetWeatherForUser(user);
        return true;
    }
 }
Step 3: Add the Policy in your Startup.cs
public void ConfigureServices(IServiceCollection services)
{
    services.AddAuthorization(options =>
    {
        options.AddPolicy(WeatherAuthorizationPolicy.Name,
                      WeatherAuthorizationPolicy.Build);
    });
Step 4: Add an Authorize attribute to an Action
[Authorize("IsRaining")]
public IActionResult RainInSpain()
{
    return View();
}
That’s it.
BONUS
I would recommend creating a Authorize Attribute so that you don’t have the magic string “IsRaining” all over the place. Excluded for simplicity.
public class AuthorizeIsRaining : AuthorizeAttribute
{
    public AuthorizeIsRaining()
           :base(WeatherAuthorizationPolicy.Name) {}
}
You can also call this policy in code by using an injected IAuthorizationService:
public MyNiceController(IAuthorizationService  authorizationService)
{
    _authorizationService = authorizationService;
}
public async Task CheckRain()
{
    var result = await _authorizationService
                .AuthorizeAsync(User, WeatherAuthorizationPolicy.Name);
     if (result.Succeeded)
        { .... }
}
